Importing fonts into Premiere Pro is crucial in creating visually captivating videos. Premiere Pro is a leading video editing software that offers extensive flexibility and customization options for text elements.
Users can elevate their video projects by incorporating unique and eye-catching typography by importing fonts. Fonts play a significant role in establishing the overall tone and style of the video, enhancing its impact on the audience.
With a vast array of font options available, users can tailor their text to match their project’s theme, mood, or branding. Import font into Premiere Pro is a feasible process, accessible to both beginners and experienced editors.
By expanding the font library within the software, editors can unleash their creativity and add a personal touch to their videos, making them more engaging and professional. So let’s dive into the world of typography and discover how to import fonts into Premiere Pro to take our video editing skills to the next level.
How To Import Font Into Premiere Pro

Premiere Pro is a powerful video editing software that allows you to customize the text and graphics in your projects. One way to do that is to import fonts into Premiere Pro and use them for your titles, subtitles, lower thirds, and more. There are two main ways to import fonts into Premiere Pro: from Adobe Fonts or other sources.
Adobe Fonts is a library of thousands of free fonts you can access with your Creative Cloud membership. You can browse and activate fonts from Adobe Fonts within Premiere Pro or the Creative Cloud app on your desktop. Alternatively, you can install fonts from other sources. Such as websites or local files on your computer, and then import them into Premiere Pro. Here are some more tips to import font into premiere pro.
Importing Fonts From A Creative Cloud Library
If you have a Creative Cloud library containing fonts, you want to use in Premiere Pro. You can easily import them into your project. A Creative Cloud library is a collection of assets, such as images, graphics, colors, and fonts, that you can access and share across different Adobe apps. To import fonts from a Creative Cloud library into Premiere Pro, You should Know this way:
- Open Premiere Pro and create or open a project.
- Go to Window › Libraries to open the Libraries panel.
- In the Libraries panel, select the library that contains the fonts you want to use.
- Click on the Fonts tab to see the fonts in the library.
Importing Fonts From A Local File
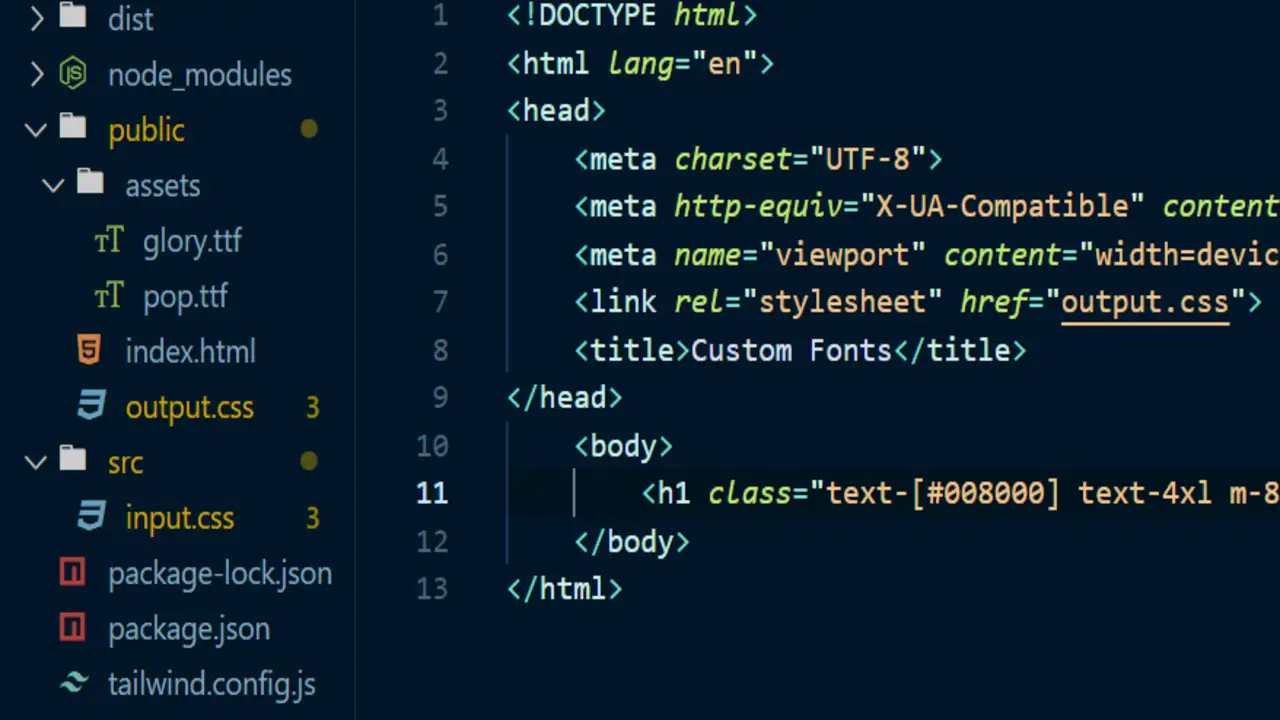
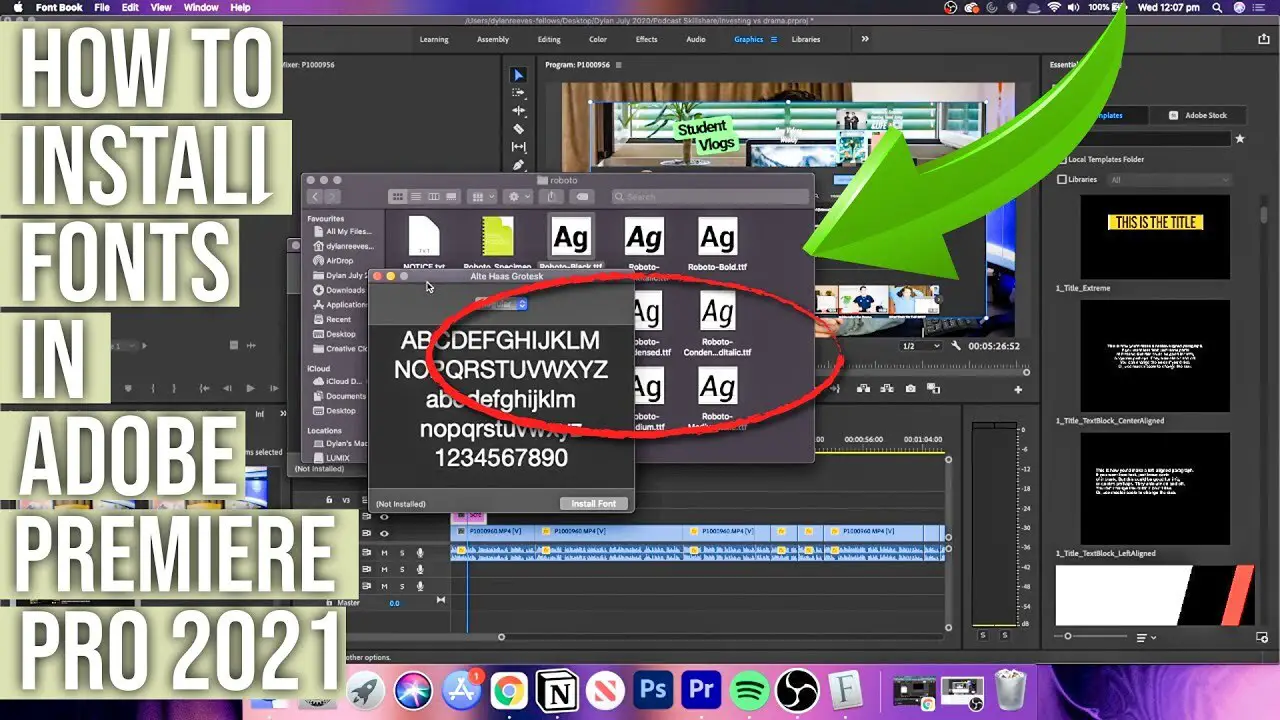
If you have fonts stored on your computer as local files, you can import them into Premiere Pro and use them for your text and graphics. You can import fonts from local files in two ways: by installing them on your computer or by adding them directly to Premiere Pro. To install fonts from local files on your computer, You should follow the step:
- Locate the font files on your computer. They are usually in a compressed zip file you must extract first.
- Double-click on the font file (.ttf or .otf) and choose Install.
- You can install the font on your computer and use it in any app that supports fonts.
Importing Fonts From A Website
If you want to use fonts not available in Adobe Fonts or on your computer, you can download them from websites offering free or paid fonts. Many websites provide fonts for different purposes, such as Google Fonts, DaFont, Font Squirrel, etc. To import fonts from a website into Premiere Pro, You should know these steps:
- Go to the website that offers the font you want and download it to your computer. The font is usually in a compressed zip file you must extract first.
- Double-click on the font file (.ttf or .otf) and choose Install.
- You can install the font on your computer and use it in any app that supports fonts.
Installing Fonts On Your Computer
Installing fonts on your computer is a simple way to expand your options for text and graphics in different apps, including Premiere Pro. Install fonts on your computer will be available for any app that supports fonts, not just Premiere Pro. You can install fonts on your computer from different sources, such as Adobe Fonts, local files, or websites. To install fonts on your computer from Adobe Fonts, follow these steps:
- Open the Creative Cloud app on your desktop.
- Click the Fonts icon (marked by an f) in the upper right corner to open the Fonts window.
- Click Browse More Fonts to go to Adobe Fonts, either in-app or on the website.
- Browse and activate the fonts you want by toggling the Activate Fonts button.
- The fonts will be installed on your computer, and you can use them in any app that supports fonts.
Troubleshooting Font Import Errors
Sometimes, you may encounter errors when importing fonts into Premiere Pro, such as missing, unsupported, or corrupted fonts. Check if the font is installed on your computer or added to your project correctly. You can go to Control Panel › Fonts on Windows or Font Book on Mac to see the fonts installed on your computer.
Check if the font is compatible with Premiere Pro. Premiere Pro supports TrueType (TTF) and OpenType (OTF) font formats but not PostScript (PS) or Web Open Font Format (WOFF) formats. You can check the font format by right-clicking the font file and choosing Properties on Windows or Get Info on Mac. Check if the font has any special characters or symbols in its name. Some fonts may have words that contain characters or symbols that Premiere Pro does not recognize.
Conclusion
By importing fonts into the software, users can infuse their projects with a distinct visual identity, enhancing their videos’ overall aesthetics and impact. This specificity allows content creators to align their font choices with their intended message, branding, or artistic vision.
The successful importation of fonts empowers editors to explore many typographic possibilities, from elegant and sophisticated styles to bold and attention-grabbing designs. Such diversity and flexibility enable the creation of visually captivating titles, subtitles, and captions that engage and captivate viewers.
Ultimately, the successful import font into Premiere Pro contributes to video projects’ overall success and professionalism, allowing creators to convey their messages with precision and creativity.
FAQ’s:
1.What File Format Should The Font Be In For Premiere Pro?
Ans: Fonts for Premiere Pro should be in OpenType (.otf) or TrueType (.ttf) format. These are the most common font file formats compatible with Premiere Pro and other software applications.
2.Can I Import Multiple Fonts At Once In Premiere Pro?
Ans: Yes, you can import multiple fonts at once in Premiere Pro. Install all the desired fonts on your computer, which will automatically become available in Premiere Pro after a restart. You can then use any of the installed fonts in your projects.
3.Can I Use Custom Fonts In Premiere Pro On Any Computer?
Ans: Custom fonts used in Premiere Pro projects will only display correctly on other computers if the same fonts are installed on those systems. If a computer doesn’t have the necessary fonts, Premiere Pro will substitute the missing fonts with a default option, potentially altering the visual appearance of the text.
4.Can I Import Fonts From Adobe Fonts Into Premiere Pro?
Ans: You can use Adobe Fonts (formerly Typekit) in Premiere Pro. Adobe Fonts provides a wide selection of fonts that can be activated and used directly within Premiere Pro. Browse the available fonts on Adobe Fonts and start the ones you want to use.
5.Is It Possible To Import Fonts On A Mobile Version Of Premiere Pro?
Ans: Currently, importing fonts into the mobile version of Premiere Pro is not supported. The mobile app has limited font options, and you can only use the fonts available. For more font customization, it’s recommended to use the desktop version of Premiere Pro.

David Egee, the visionary Founder of FontSaga, is renowned for his font expertise and mentorship in online communities. With over 12 years of formal font review experience and study of 400+ fonts, David blends reviews with educational content and scripting skills. Armed with a Bachelor’s Degree in Graphic Design and a Master’s in Typography and Type Design from California State University, David’s journey from freelance lettering artist to font Specialist and then the FontSaga’s inception reflects his commitment to typography excellence.
In the context of font reviews, David specializes in creative typography for logo design and lettering. He aims to provide a diverse range of content and resources to cater to a broad audience. His passion for typography shines through in every aspect of FontSaga, inspiring creativity and fostering a deeper appreciation for the art of lettering and calligraphy.
