Changing font color in InDesign is a basic yet essential skill for creating visually appealing documents. By adjusting the color of your text, you can add emphasis, create contrast, and enhance the overall design of your project.
With InDesign’s user-friendly interface, changing font color is a breeze. In the world of design, every detail matters. And when it comes to creating eye-catching content, even the color of your font can make a big difference. If you’re using Adobe InDesign and wondering how to change font color, you’re in luck.
We’ll walk you through the process step-by-step on how to change font color in indesign. From opening the Color Panel to selecting your text and applying the color, we’ve got you covered. Plus, we’ll share some pro tips to help you save time and create stunning designs.
How To Change Font Color In Indesign: 5 Easy Steps
Changing font color in InDesign is a simple yet powerful way to enhance the visual appeal of your designs. Whether you’re working on a brochure, magazine layout, or any other project, knowing how to change font color can help you create eye-catching and engaging typography.
However, Changing font color in InDesign is a simple process that can help enhance the visual appeal of your design. Here are five easy steps to how to change font color in indesign. Following these steps, you can easily change font colors in InDesign and create visually stunning designs.
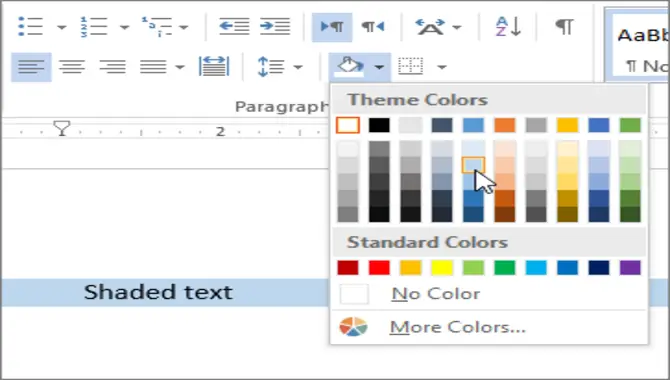
Step 1: Open The Color Panel
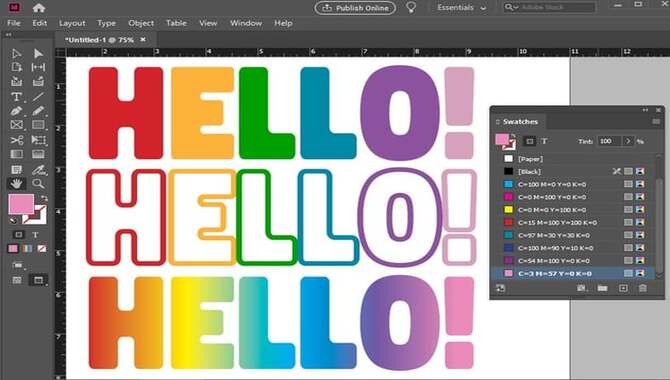
Changing font colors in Adobe InDesign involves a few simple steps. First, open the Color Panel by navigating to the Window menu and selecting Color. Once open, you’ll find various color options like Swatches, Gradients, and RGB sliders.
To modify the font color, select the text you’d like to change and pick a color from the Color Panel. You can choose from pre-defined colors or create a custom hue using the RGB sliders. Upon making your selection, the font color of the text will be updated accordingly.
Step 2: Choose Your Color
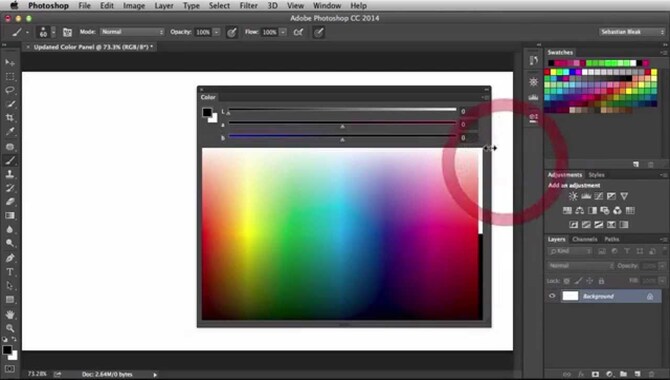
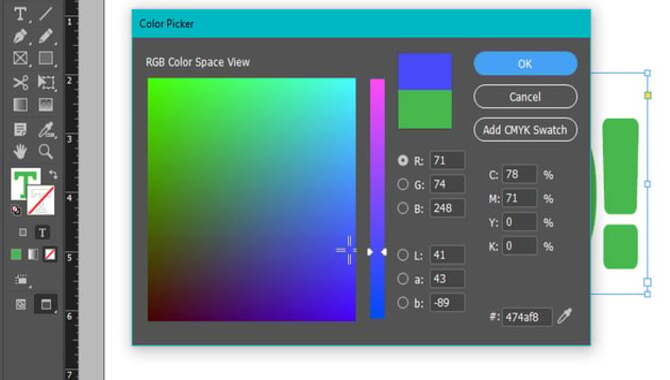
To choose the perfect font color in Adobe InDesign, select the text you wish to modify. Then, explore the various options available to you. Navigate to the Swatches panel, which offers a range of pre-defined colors, including Pantone colors and popular color libraries. Alternatively, utilize the Color Picker for more flexibility.
With the Color Picker, you can select any color on the spectrum using sliders or by entering specific RGB or CMYK values. Once you have chosen your desired color, simply apply it to the selected text by clicking or dragging and dropping it onto the text box. Taking advantage of these powerful features in InDesign, you can effortlessly customize font color to enhance the overall layout of your document.
Step 3: Select Your Text
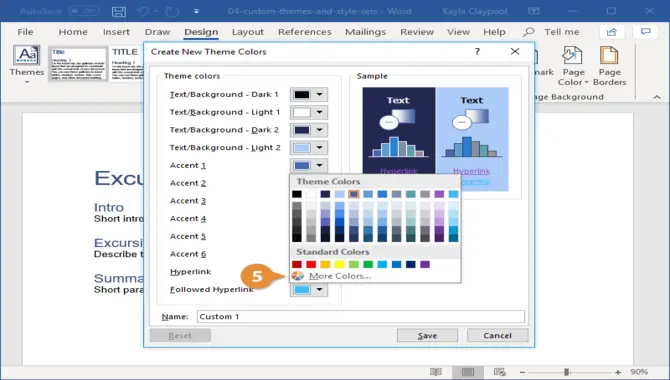
In the third step of modifying text colour in Adobe InDesign, you should focus on selecting the specific text you want to change. To accomplish this, open your InDesign document and locate the page where the desired text is present.
Using the Type Tool, highlight or click and drag across the text to be modified. Moving forward, find the “Character” panel or window that houses the formatting options such as font size, style, and colour. Look for the “Font Color” section and interact with the swatch or dropdown menu next to it.
A color picker window will appear, allowing you to choose various colours. After selecting, click “OK” to apply the new font color to your selected text.
Step 4: Apply The Color
Changing the font color in Adobe InDesign is a simple and quick process. After selecting the desired text, go to the “Swatches” panel and choose the color you want. You can also create a custom color using the “Color Picker” tool.
Applying the color is as easy as clicking on it and watching it transform your text. Take advantage of the “Character” panel for additional formatting options. With these powerful features, you can create visually stunning layouts in your InDesign files. So why wait? Start exploring the various font colors and make your designs pop.
Step 5: Save Your Work
Saving your work in Design is an essential step to preserve any changes you have made to the font color. After selecting your desired font color in the Character panel’s color picker, click “OK” to apply it to your text.
Remember to save your work by going to the “File” menu and selecting “Save” or using the keyboard shortcut Ctrl + S (Windows) or Command + S (Mac). By saving your work, you can ensure that your changes are stored in the InDesign file and can be accessed and modified at any time.
How To Choose The Best Color For Your Desing
Choosing the best color for your design is an important decision that can greatly impact your project’s overall look and feel. Remember, choosing the right color for your design is subjective and depends on various factors. Trusting your instincts and going with the colors that resonate with you and align with your overall vision for the project is important. Here are some tips to help you choose the perfect color:
- Consider the purpose and message of your design. Think about what emotions or associations you want to evoke with your design. For example, if you’re designing a logo for a spa, you may want to choose calming colors like blues or greens.
- Think about your target audience. Different colors can have different cultural and psychological meanings, so it’s important to consider who will view your design. For example, red can symbolize love and passion in Western cultures, but it is associated with luck and prosperity in many Asian cultures.
- Use color theory principles. Color theory can help guide your color choices by suggesting which colors work well together and create a harmonious composition. For example, complementary colors (opposite each other on the color wheel) can create a striking contrast.
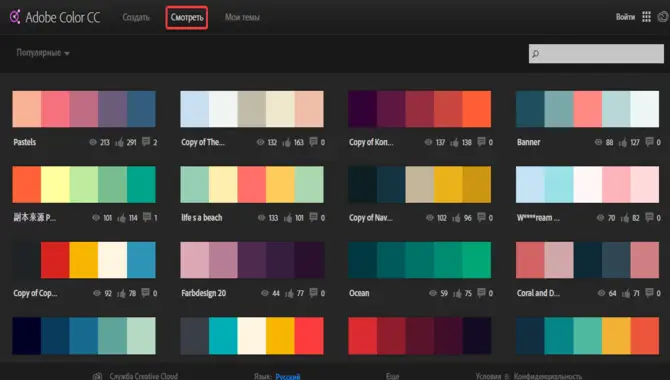
- Test different options. Don’t be afraid to experiment with different color combinations to see what works best for your design. Use color swatches or digital tools to see how different colors interact.
- Get feedback from others. Sometimes a fresh pair of eyes can provide valuable insights into your color choices. Ask for feedback from colleagues or friends to get different perspectives on how your design looks and feels.
How To Create Custom Colors For Unique Font Effects
Creating custom colors for unique font effects can add a touch of creativity and personalization to your design projects. Using bullet points in your text can easily highlight key information or create a visual hierarchy within your content. Here’s how you can create custom colors for your font effects with bullet points:
1.Select the text: Highlight the text to which you want to apply the custom color.
2.Open the color picker: Look for the “Text Color” or “Font Color” option in your editing software or design tool. Click on it to open the color picker.
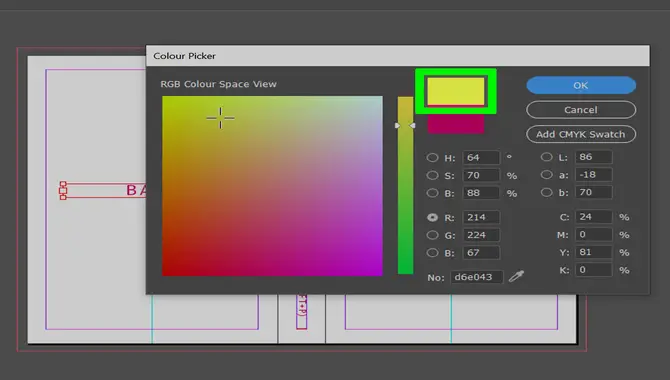
3.Choose a custom color: In the color picker, you’ll typically have options to choose from a palette of pre-defined colors or enter a specific color code. To create a unique color, click on the “Custom” or “Advanced” tab to adjust sliders for hue, saturation, and brightness.
4.Experiment with different values: Play around with the sliders to find your custom color’s desired hue and intensity. You can also manually input specific RGB or HEX values if you have a particular shade in mind.
5.Apply the custom color: Once you’ve created your color, click “OK” or “Apply” in the color picker window to apply it to your selected text. The text will now appear in your chosen custom color. Following these steps, you can easily create custom colors for your font effects with bullet points, adding visual interest and uniqueness to your designs.
Tips And Tricks For Working With Font Color In Indesign
Working with font color in InDesign can be a breeze when you know the right tips and tricks. Here are some handy tips to help you make the most out of your font color choices in InDesign:
- Use contrasting colors: When choosing font colors, it’s important to consider contrast. Using contrasting colors can enhance readability and make your text stand out. Experiment with different combinations to find the perfect balance.
- Create swatches: To save time and ensure consistency, create swatches for your frequently used font colors. This will allow you to access and apply them throughout your document easily.
- Use the Eyedropper tool: If you come across a color that you want to replicate or match, use the Eyedropper tool in InDesign. Simply click on the desired color and apply it to your text.
- Apply color to specific characters or words: In addition to applying color to entire paragraphs or text boxes, you can also apply color to specific characters or words. This can help draw attention to important information or create visual interest.
- Consider legibility: While using bright or bold colors may be tempting, always prioritize legibility. Ensure the chosen font color is easy to read against the background.
By following these tips and tricks, you can effectively work with font color in InDesign and create visually appealing documents.
Conclusion
Changing the font color in InDesign is a simple process that can greatly enhance the visual appeal of your design. Using the swatches panel or the character formatting controls, you can easily select and apply a new font color to your text.
Experiment with different colors to find the perfect combination that suits your design aesthetic However, By following these five easy steps on how to change font color in indesign , you can easily change the font color in InDesign and create stunning visuals that grab attention.
Remember to open the Color Panel, choose your desired color, select the text you want to change, apply the color, and save your work. With these steps, you can effectively change font colors in InDesign and take your design skills to the next level.
Frequently Asked Questions
Why Can’t I Change The Color Of Text In Indesign?
If you cannot change the color of text in InDesign, first ensure that it’s not locked or on a locked layer. Check for any grouped objects or applied effects preventing color changes. Select the correct text frame or cursor, confirm your color settings, and swatches panel availability.
How Do I Change The Font Color In Indesign Bulk?
To change the font color in InDesign for multiple text frames or objects, select them, go to the “Swatches” panel and choose the desired color. Then, click on the “Type” menu, select “Character Color,” and apply the newly selected color. This will change the font color for all selected items at once.
Can You Change A Font In Indesign?
Yes, you have the ability to change the font in InDesign. Simply select the text you want to modify and navigate to the Character panel. You can choose a new font from the Font dropdown menu. Additionally, you can adjust other attributes such as size, style, and color. Feel free to experiment with different fonts to find the perfect fit for your design.
Where Do I Change Color Mode In Indesign?
To modify the color mode in InDesign, access the “File” menu and choose “Document Setup.” The “Transparency Blend Space” dropdown menu is inside the dialog box. Select your preferred color mode (RGB, CMYK, or Lab) from there. Confirm the changes by clicking “OK,” your InDesign document will update accordingly.
What Are The Different Ways To Change Font Color In Indesign?
To change font color in InDesign, you have several options. You can use the Character panel and choose a color from the swatches or color picker. The Control panel also has a Font Color dropdown menu. The Eyedropper tool lets you select an object with the desired color and apply it to the text. Lastly, you can create a Paragraph Style with the desired color and apply it to the text.

David Egee, the visionary Founder of FontSaga, is renowned for his font expertise and mentorship in online communities. With over 12 years of formal font review experience and study of 400+ fonts, David blends reviews with educational content and scripting skills. Armed with a Bachelor’s Degree in Graphic Design and a Master’s in Typography and Type Design from California State University, David’s journey from freelance lettering artist to font Specialist and then the FontSaga’s inception reflects his commitment to typography excellence.
In the context of font reviews, David specializes in creative typography for logo design and lettering. He aims to provide a diverse range of content and resources to cater to a broad audience. His passion for typography shines through in every aspect of FontSaga, inspiring creativity and fostering a deeper appreciation for the art of lettering and calligraphy.
