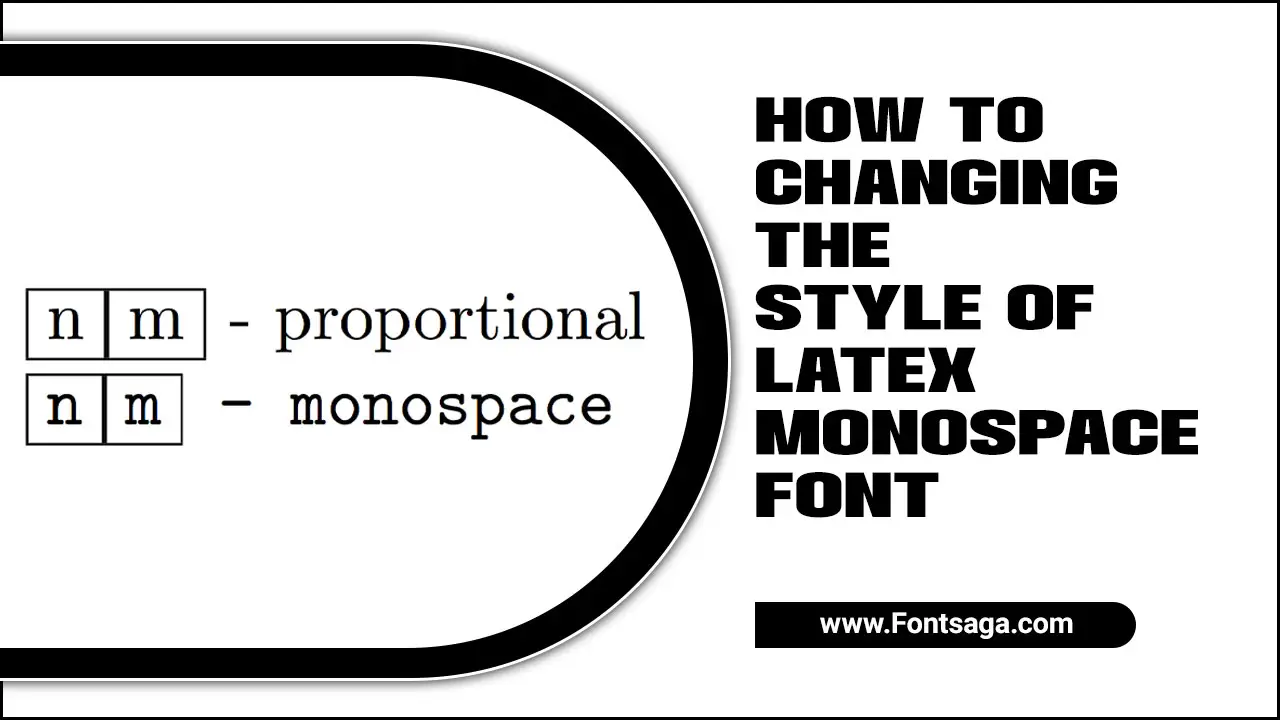
A latex monospace font is a typeface with a single set of characters in each larger font size. This means that the same character will be used in each point size.
It is common for works using LaTeX, such as technical or scientific documents, to use a monospaced font family. Changing the style of a latex monospace font is something that every writer must be familiar with. It is essential for writers who want to make their content more appealing and unique, just like an artist does when creating a piece of art.
Fortunately, LaTeX users can change the style of their monospace font to better suit their needs. Here, we will explore how to changing the style of latex monospace font style, including font size and color.
What Is Latex Monospace Font?

Latex monospace font is a preferred option for presenting code in LaTeX. It is also popular as a typewriter font or fixed-width font. However, MS Word’s monospace font has issues with uniformity in white spaces, leading LaTeX users to search for alternative font options. While monospace fonts are ideal for programming, they may hinder readability in other contexts.
Avoiding awkward spacing or uneven lines requires special attention when justifying text. Therefore, anyone considering changing the style of Latex monospace font should be aware of its pros and cons. Modern font formats have revolutionized how we perceive and use typography in various digital platforms. Styles in LaTeX refer to the various formatting options available for customizing the appearance of your document, including font styles.
History of Latex Monospace Font
The history of the Latex Monospace Font dates back to the early days of computer programming and typesetting. Donald Knuth’s TeX typesetting system popularized these fixed-width fonts that mimic typewriter text. Knuth designed the Computer Modern fonts family, including a monospace variant called “CM Typewriter,” which became the basis for the Latex Monospace Font.
Shape design features refer to the various elements and characteristics that contribute to the overall look and feel of a particular shape or design. With the rise of LaTeX in the 1980s, this font gained popularity among researchers, academics, and professionals in technical fields. Its uniform character width made it ideal for creating aesthetically pleasing and readable documents.
3 Steps on How To Changing The Style Of Latex Monospace Font

Changing the style of the LaTeX monospace font is possible with a few steps. First, choose a new monospace font and add it to your LaTeX document using \usepackage. Then, modify the font settings using \renewcommand to adjust parameters like size and weight.
When encountering the ‘LaTeX Font Warning,’ it is important to check the monospace font settings in your LaTeX document. Experiment and be patient to achieve your desired look. This is important when working with source code listings. Here are 3 Steps to how to changing the style of latex monospace font style.
1.Changing Font Weight

When working with LaTeX, changing the style of the monospace font can be achieved through various commands. One of the most common changes that can be made to the monospace font is to alter its weight. This can be done using the \textbf{} command to make the text bold. PDF fonts play a crucial role in enhancing the appearance and readability of documents.
Alternatively, the \textit{} command can be handy for italicizing the text. It is also possible to adjust the arbitrary font size of monospace text using the \fontsize{} command, followed by the desired font size and line spacing. Additionally, the \texttt{} command you can use to change the font family of the monospace text allows for a more customized look. You can combine these commands to create a wide range of styles for monospace text, depending on the desired outcome.
2.Changing Font Shape

Formatting your document in LaTeX, there are several commands you can use to change the style of your monospace font. One of the most commonly used commands is \texttt, which switches to a monospace font. This command is handy when you want to include code snippets or terminal commands in your document. Vector-based fonts are a type of font that uses mathematical formulas to define the shape and structure of each character.
However, you may also want to change the shape of your monospace font. For this, you can use the \textsl command to make the font slanted or the \textbf command to make it bold. You can also combine these commands to create a bold and slanted font using \textbf{\textsl{}}. The \textsc command can also create small caps in your monospace font. Not all fonts have a monospace version, so you may need to install a specific font package to access these commands.
3.Underline and Strikethrough
LaTeX is a popular document preparation system extensively used in the scientific community. It offers a wide range of formatting options, including the ability to change the style of monospace font. One such feature is the ability to underline and strikethrough text in a monospace font using the appropriate commands.
To underline text in LaTeX monospace font, one can use the \underline command. For instance, \texttt{\underline{This is underlined text.}} would produce the output “This is underlined text” with the text in monospace font and underlined.
Similarly, to create a strikethrough effect on monospace text, one can use the \sout command. For example, \texttt{\sout{This text is strikethrough.}} would result in the output “This text is strikethrough” with the text in monospace font and crossed out. These commands emphasize text in monospace font and draw attention to edited or removed text in a useful way.
Commands To Change The Style Of Latex Monospace Font
One of the great things about LaTeX is its flexibility regarding formatting text. If you’re looking to change the style of your monospace font, there are several commands you can use to achieve your desired effect. For example, if you want to make your monospace font bold, you can use the \textbf command, like this: \texttt{\textbf{your text here}}.
If you want to make it italicized, use the \textit command: \texttt{\textit{your text here}}. Another option is to change the font size using the \fontsize command: \texttt{\fontsize{10}{12}\selectfont your text here}. Changing the style of a latex monospace font is one of the easiest ways to make your text look more professional. The default LATEX font encoding family style for this typeface is quite thin and condensed, but it can be manually adjusted to achieve a more traditional appearance.
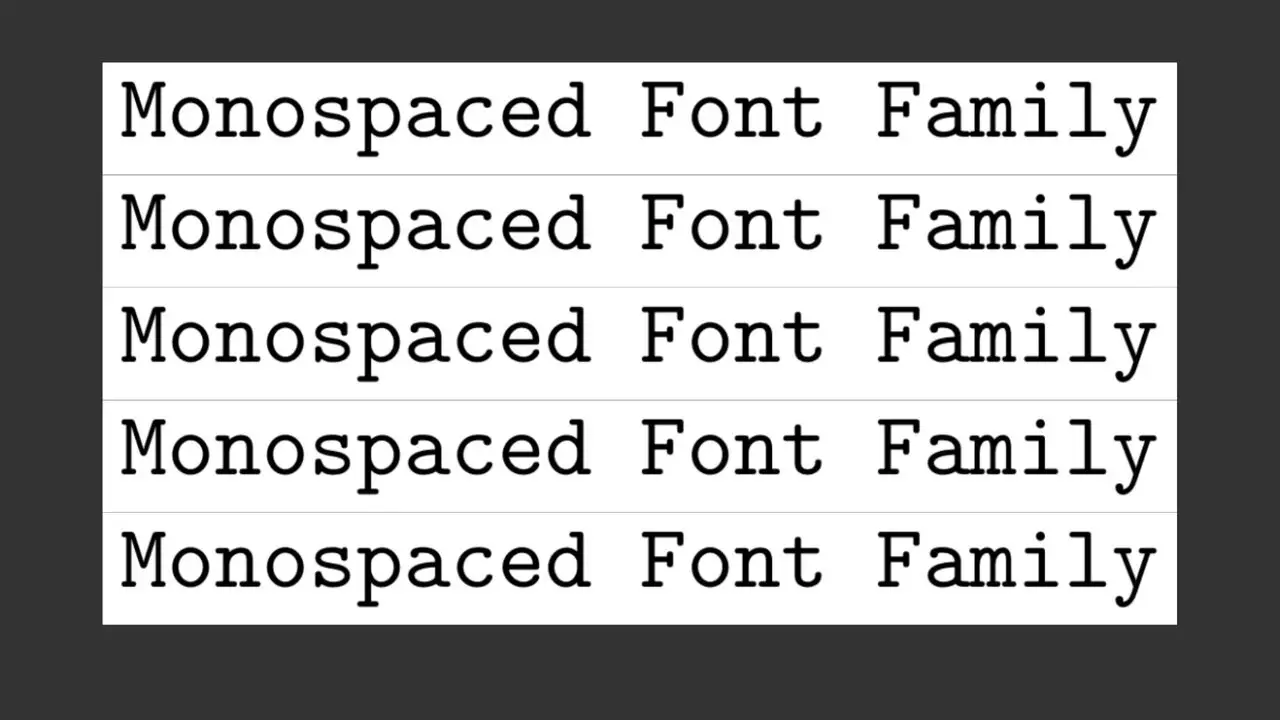
Using Different Variants Of Monospace Font
When using LaTeX, using a monospace font for code snippets or algorithmic descriptions is common. However, different variants can be handy to change the default monospace font in LaTeX. Popular choices include Courier, known for its clean appearance, and Consolas, preferred for programming due to its legibility.
To incorporate these fonts into a LaTeX document, the font spec package can be used for easy font selection and customization. Simply include the font spec package in the preamble of the document. Bitmap fonts are a type of font that uses a grid of individual pixels to represent each character. The current font size in LaTeX can be modified using the “\fontsize” command.
Pros And Cons Of Changing The Style Of A Latex Monospace Font

Changing the latex monospace font style can have pros and cons. On the one hand, changing the font style can give your document a fresh look and make it more visually appealing. This can be particularly important if you create a document that needs to stand out, such as a resume or a presentation. Extra fonts can be a game-changer regarding customizing the style of your LaTeX monospace font.
Changing the font style can also make your document easier to read, especially if you choose a style that is more legible or has better spacing. For one thing, it may cause compatibility issues with certain software programs or printers. People commonly use monospace fonts in source code because they have a fixed width for each character. On the other hand, one can switch on and off alternate glyphs, ligatures, and small caps offered by OpenType fonts.
Pros:
- Improved readability
- Enhanced aesthetics
- Customization options
- Highlighting important information
Cons:
- Compatibility issues
- Inconsistency
Is It Necessary To Change The Style Of The Latex Monospace Font?

While the default monospace font in LaTeX is practical, some users prefer a different style to suit their needs. For example, a different monospace font may be chosen for better legibility or aesthetics. A different monospace font may be required in specific projects, such as coding or technical documents.
Ultimately, changing the LaTeX monospace font is a personal choice based on individual font file preferences and needs. Using font packages in LaTeX allows changing default fonts, including monospace, with specific commands.
Quality fonts play a crucial role in enhancing the overall aesthetic appeal of any design or document. Separate font files are essential for customizing the style of LaTeX monospace font. The “huge font size” refers to a significant increase in the size of a font, making it larger and more prominent.
How To Change The Style Of The Latex Monospace Font In Windows?
Changing the style of the LaTeX monospace font in Windows is a fairly straightforward process. First, you must locate the font file you want to use. Once you have found the file, right-click on it and select “Install” from the context menu.
Next, open your LaTeX document and locate the line that sets the monospace font. This line should look like family.” To change the font style, replace “family” with the font name you installed earlier.
Monospace fonts offer a fixed width for each character, making them ideal for source code listings. Use LaTeX commands to change the font style, including the monospace font family. To change the style of the monospace font in LaTeX, you can use packages like Concrete Roman and Euler font. You can switch the default font to sans or Roman font using specific LaTeX commands.
How To Change The Style Of The Latex Monospace Font On Mac?

LaTeX has three different font families- serif, sans serif, and monospaced – each with a specific purpose. Changing the monospace font style in LaTeX for Mac requires specific commands affecting font display.
To present source code, you can use other font packages like Concrete Roman and Euler fonts. Choosing the right monospace font is critical to help source code listings appear well-aligned, avoid any spacing issues, and ease the process of reading. So, be diligent and choose carefully.
This will bring up a dialog box where you can adjust the font’s size, weight, and style. Select the desired option from the “Variations” dropdown menu to change the font style. With Font Book, it’s easy to customize your monospace font and make it your own. You can use a few simple commands to change the monospace font style on a Mac.
- Open the Terminal app on the Mac.
- Type “defaults write com.apple.Terminal AppleFontSmoothing int 2,” and press enter.
- Type “defaults write com.apple.Terminal ‘NSGlobalDomain’ ‘AppleFontSmoothing’ int 2,” and press enter.
- Type “defaults write com.apple. Terminal’ ProFont Regular’ 14” and press enter.
Conclusion
Latex Monospace Font, or Typewriter font, is popular for displaying code snippets and other computer-related text. It is a fixed-width font, meaning that each character occupies the same amount of space on the page, making it easier to read and compare code.
It is very important to know how to changing the style of latex monospace font. The Latex Monospace Font usually mimics the look of old-fashioned typewriters with a similar fixed-width style. A good typeface is an essential tool for graphic designers, and changing the font style can be daunting. However, changing the style of a font is not as difficult as you think.
With a little experimentation, you can change your typefaces in no time. You can create professional-looking documents that look stunning on any device or screen size using a font like this. Not only are these fonts aesthetically pleasing, but they also offer great readability and compatibility.
Frequently Asked Questions:
What Is The Font Style Of A Text In Latex?
The default font style in LaTeX is typically Computer Modern, a serif font. However, LaTeX also supports different font families and styles, such as sans-serif fonts, typewriters, and bold.
Where Can I Get Different Fonts?
You can find different fonts on various websites that offer free and paid font downloads, such as Google Fonts, DaFont, and Font Squirrel. These websites provide a wide range of fonts you can browse, download, and use for personal or commercial projects.
Is Monospace A Good Font?
Yes, Monospace is a good font for certain purposes. It is widely used in programming and coding because its characters have equal widths, making aligning code and spotting errors easier.
Is Arial A Monospace Font?.
No, Arial is not a monospace font. While it may seem like a basic and straightforward statement, it holds a lot of significance in the world of typography.
Is Monospace A Web Font?
Yes, monospace is a type of font that can be used on websites. Monospace fonts are known for having each character take up the same amount of horizontal space, which can be useful for coding, terminal displays, and other applications that require alignment.

David Egee, the visionary Founder of FontSaga, is renowned for his font expertise and mentorship in online communities. With over 12 years of formal font review experience and study of 400+ fonts, David blends reviews with educational content and scripting skills. Armed with a Bachelor’s Degree in Graphic Design and a Master’s in Typography and Type Design from California State University, David’s journey from freelance lettering artist to font Specialist and then the FontSaga’s inception reflects his commitment to typography excellence.
In the context of font reviews, David specializes in creative typography for logo design and lettering. He aims to provide a diverse range of content and resources to cater to a broad audience. His passion for typography shines through in every aspect of FontSaga, inspiring creativity and fostering a deeper appreciation for the art of lettering and calligraphy.
