Installing a new font on your Mac can be a fun and exciting experience, but it can also take some time if you need help finding where to look. Fear not, dear reader, for today, we will walk you through installing a new font on your Mac.
First, you’ll need to locate the Font you want to install. This can be done in various ways, but one of the easiest is using the built-in MacOS Fonts app. Once you have located the Font, click on it and then follow the prompts to install it on your Mac.
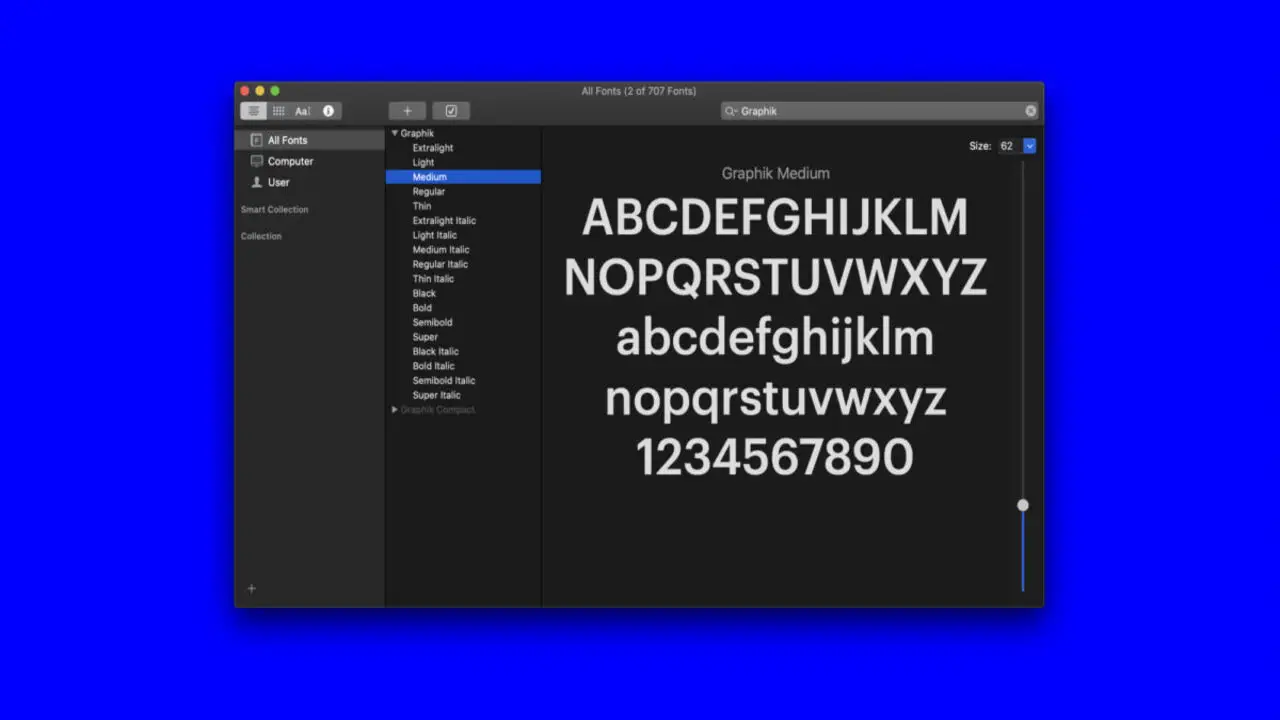
We’ll walk you through installing a new font on your Mac using the Font Book app. We’ll show you how to add the Font to your system, use it in apps, and change its appearance. This guide is perfect for users who want to quickly and easily add a new font to their macOS system. So read on to learn how to install new fonts with macOS quickly.

6 Tips About How To Quickly Install New Fonts With MacOS For Beginners
Fonts are one of the most important elements of any design project. Having the right fonts can make a huge difference in how your work looks when working on a document, website, or presentation. Unfortunately, many people don’t know how to install new fonts on Mac computers.
There are many ways to install new fonts with MacOS. The easiest way is to use the Font Book application. You can also use the Apertium toolkit or recommend a font site such as Google Fonts for users with an account there. Do you need help installing fonts on your macOS device? Don’t worry. It’s easier than you think! Follow these six tips for quickly installing new fonts on your macOS device.
- Try out your new Font in a document first. If it looks good on the computer, you can install it on your Mac with just a few clicks.
- Check the font availability in macOS. Some fonts are only available for certain operating systems, so check first.
- Use third-party apps to install fonts on Mac. Many third-party apps can help you easily add new fonts to your Mac, such as Font Book or TypeKit.
- Look for free/paid fonts on websites like Google Web Fonts and Dafont. Many free fonts are still quality and easy to use, while paid fonts have more options and professional designs.
- Have fun with typography! You can experiment with different fonts and find ones that suit you best.
- Finally, go back to step 1 and see if the Font has changed since you tried it.
How To Quickly Install New Fonts On MacOS
Installing new fonts on macOS can seem intimidating for beginners, but it’s straightforward. There are several ways to quickly install new fonts on macOS, including navigating to the Format tab in PowerPoint and selecting a downloaded font, using Font Book to manage fonts and even create collections, or double-clicking a font file in Finder to open a preview window, then clicking Install Font.
For even more convenience, you can use Setapp to install and enable/disable new fonts as needed quickly. If you can’t find a font that suits your needs, you can even design your own with Glyphs Mini. For beginners, here are some quick commands to install new fonts on your Mac:
- Use the Font Book application – the easiest and most straightforward method.
- Check out font sites like Google Fonts for a wide selection of fonts that are easy to install.
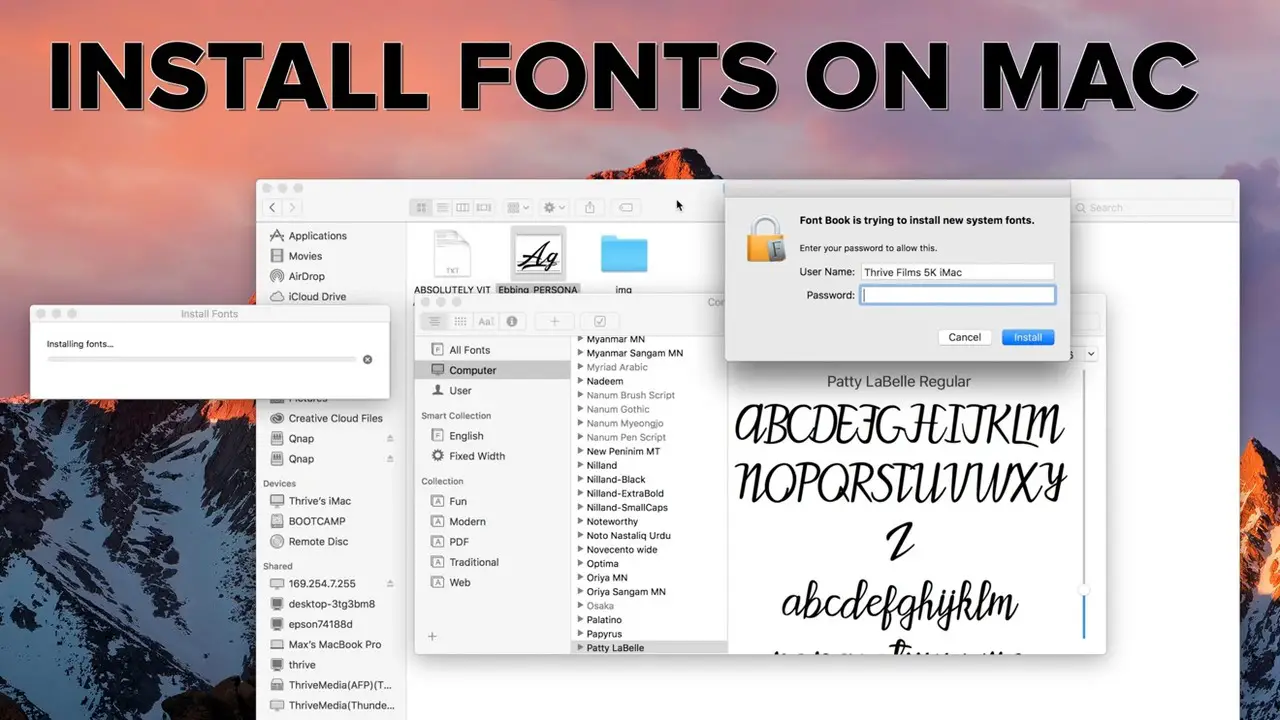
- If you have a specific font, you want to install, drag and drop the font file into the Font Book app or use the “+” button.
- Use the “Preview” feature in Font Book to see how the font looks in different sizes and styles.
- If you need to install multiple fonts at once, put them all in a folder and drag the folder into Font Book.
- Many online tutorials can walk you through the process if you prefer using Terminal commands.
With these commands, you can quickly and easily install new fonts on your Mac and elevate your design projects to the next level.
Where To Find New Fonts For MacOS
Installing new fonts on macOS for beginners can be a challenge, but luckily, the process is easy. Apple provides 20 free Roman alphabet fonts installed with a simple click. If you’re looking for more fonts, there are many sites like DaFont and FontSpace where you can download fonts for macOS.
When installing new fonts, it’s essential to remember that some fonts may require a restart of an application to show up, while others may cause issues with certain applications. For any troubleshooting, you can contact the MCAD Help Desk.
MacOS supports multiple Font and font collection formats, so checking the installation instructions before downloading is essential. Once downloaded, installing a new font is as easy as navigating to the Format tab on PowerPoint and selecting the Font. These simple steps allow you to use new, exciting fonts for all your design needs.
Tips For Installing And Managing Fonts In MacOS
Mac OS X has several built-in fonts that come preinstalled on your Mac. You can also download and install new fonts to use on your Mac. Here are some tips for installing and managing fonts on macOS:
First, visit the Apple menu > System Preferences > Fonts tab. Select the Font you want to install and click Open or Install. To manage your installed fonts, select them in the list and click Options or More. Go to the Advanced tab, choose the font file you want to use, and click OK.
To update your installed fonts, choose to Update All or Update Now. Click Apply and then OK when it’s done. If you want to delete a font from your Mac, click Remove in the list and choose to Delete Installed Fonts if you’re sure about removing it.
Troubleshooting Common Issues With Installing Fonts In Mac OS
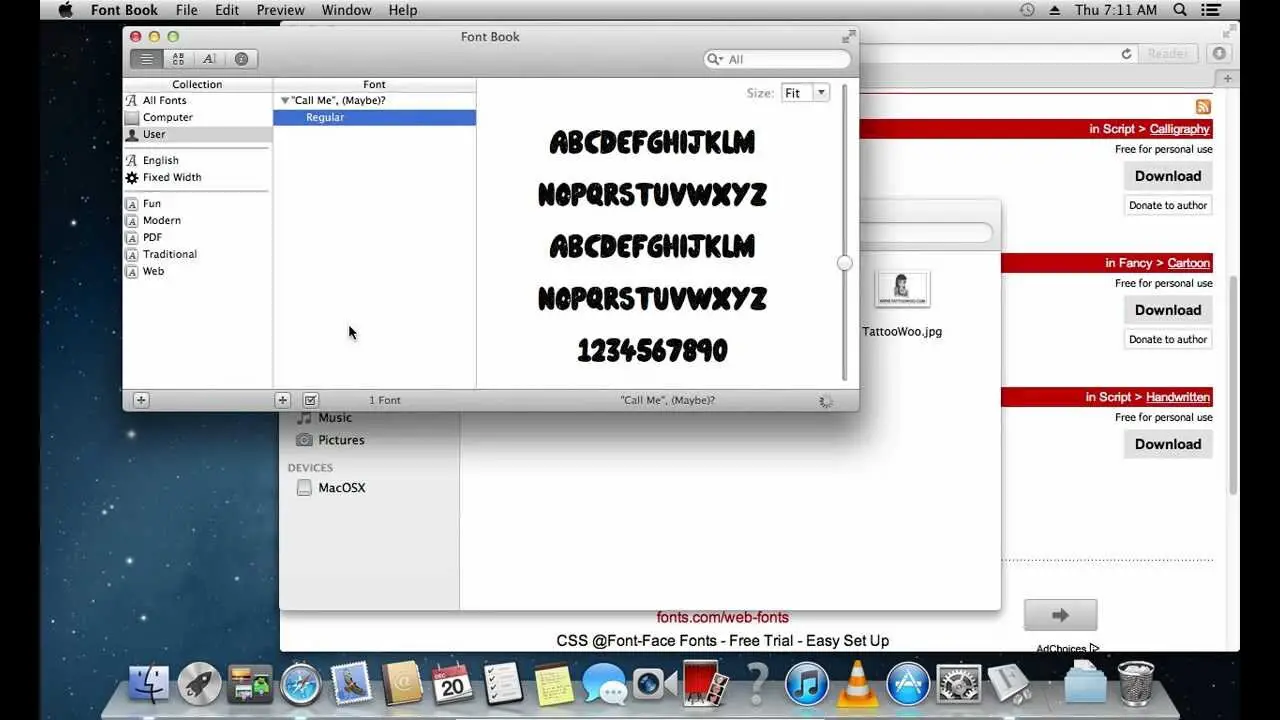
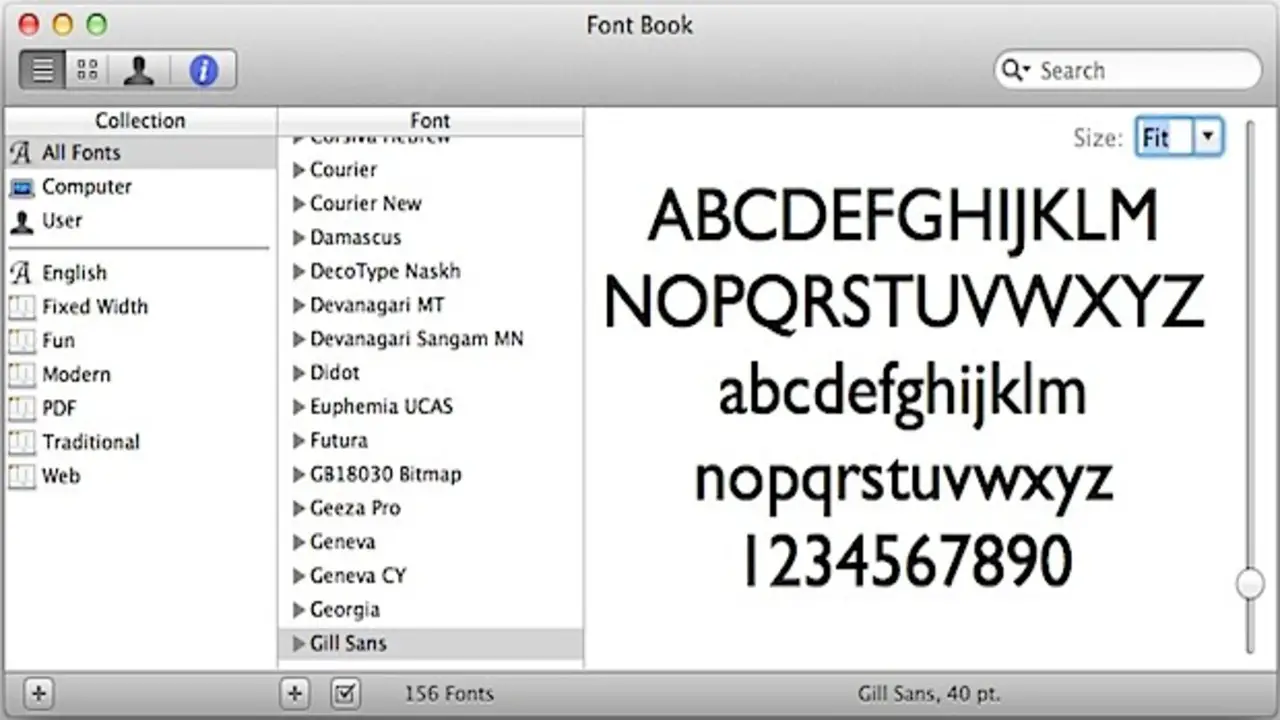
Font Book in macOS lets you install, remove, edit, manage, and organize your fonts easily. You can even create collections of your favorite fonts, making it easier to find them. However, you may encounter issues while installing new fonts on your macOS.
In such cases, manually adding third-party fonts to the Fonts folder in your user library may be necessary. To troubleshoot new fonts on a Mac, open System Preferences and select Appearance.
Select the font category and click the “Fonts” tab to see your installed fonts. If you have an older version of macOS, some older fonts may be unavailable or not supported by newer versions. You can install a different font using the App Store or customize tools within OSX Yosemite/El Capitan.
Alternatively, if all other methods fail, then it is likely that your new fonts will be damaged. To fix this, try resetting the font cache by opening the Terminal app and entering the command “sudo atsutil databases -remove”.
This will reset the font cache and hopefully fix any issues with your new fonts. If the problem persists, you can try re-downloading the fonts from their source or contacting the font creator for support.
Also, if you experience any issues with Font Book, you can always contact the MCAD Help Desk for assistance. Overall, the built-in collection of fonts on your macOS is expansive, and you can always expand it or alter it for customization to fit your unique needs. So, explore your options with your macOS’s easy-to-use Font Book feature!
How To Uninstall Fonts On Mac OS
Uninstalling fonts in macOS is a simple task. Follow a few simple steps to disable unwanted fonts from your system. First, right-click on Font Book and select Disable to disable the Font. You can also perform this task by using a two-finger click on Font Book and selecting Disable.
It is also essential to note that you must keep the fonts that come with your system. You can organize and hide macOS system fonts from the app. In addition to this, Font smoothing in macOS can sometimes make text look blurry.
To disable Font smoothing, go to System Preferences -> General -> Use font smoothing when available. Untick the option to turn it off completely. Removing fonts you no longer use can free up space on your macOS device, so it’s worth taking the time to do so.
Conclusion
The MacOS font is a typeface developed by Apple Inc. for use in the macOS operating system. It is available in multiple weights, from regular to bold, and supports all Latin-based languages, including English, French, German, Italian, Spanish, and many more.
The MacOS font has a distinctive italic style, making it look elegant and professional. It has many characters, such as numbers, punctuation marks, and symbols.
The typeface is particularly well-suited for body text in books, magazines, newspapers, and other publications due to its large set of characters and various weights available. Installing new fonts on your Mac is a quick and easy process that can help you personalize your computer interface. Following these simple steps, you can quickly and easily install new fonts on your Mac.
Frequently Asked Questions
1.Which Type Of Macos Font Should I Use?
Ans: There is no “correct” type of MacOS font, as the type of Font you choose will depend on your preferences and the look and feel you want for your MacOS system. Some popular types of fonts include:
- Sans Serif: This type of Font is simple and sleek and is often used for headings, titles, and other text that needs to be easy to read.
- Serif: Serif fonts are more traditional and are often used for body text and other text that must look professional.
- Script: Script fonts are modern and trendy and are often used for menus, tooltips, and other graphical elements.
- Display: Display fonts are designed to be legible in all lighting conditions and are often used for web pages and other applications that need to be seen in all conditions.
2.Can Fonts Be Changed On Macos?
Ans: Yes, you can change the fonts on your Mac. To do this, you must first download additional fonts for macOS from Apple’s All Fonts list. Once you have downloaded the fonts, you can use Font Book to add, remove, edit, and manage fonts on your Mac. Lastly, if you need to manually add a third-party font to your user library’s Fonts folder, then follow these steps:
- Go to System Preferences > Fonts
- Click the “Filetypes” tab and select the type of Font you want to add
- Click the “Add” button and browse to the location of the font file (.TTF or . OTF)
- Click the “Select” button and select the Font from the list
- Click the “OK” button to add the Font to your system
3.What Are The Different Font Types That Are Available In Macos?
Ans: Many fonts are available in macOS, including Roman and non-Roman typefaces. MacOS supports font formats such as TrueType, OpenType, and Variable TrueType. OpenType-SVG fonts are also supported by macOS Mojave or later. You may need to restart an application to make the newly installed fonts appear. Additionally, the Typeface app on macOS Mojave or later supports color fonts.
4.What Should I Do If I Have Trouble Installing A Font?
Ans: If you are having trouble installing a font, there are a few steps you can take to try to rectify the issue. First, check to see if you have the correct font file. If you do not have the correct File, you can try to download it from the web or a font vendor.
Whether you still cannot install the Font, you can troubleshoot the installation by following the instructions that came with the Font or contacting the font vendor. If all of these measures fail, contacting a computer specialist or technician may be necessary for assistance.
5.What Tools And Files Are Required To Install A New Font On macOS?
Ans: Adobe Illustrator is required to install a new font on macOS. After you have installed and launched Adobe Illustrator, follow these steps to add a new font:
- Open Adobe Illustrator and select File> New > Font.
- Enter the Font name you downloaded in the Typeface Name field.
- Click OK to close the dialogue box and exit Adobe Illustrator.
- Double-click or drag the font file you downloaded to your Fonts folder in the Library.
- When prompted, click Open. PowerPoint will now be able to use the new Font.

David Egee, the visionary Founder of FontSaga, is renowned for his font expertise and mentorship in online communities. With over 12 years of formal font review experience and study of 400+ fonts, David blends reviews with educational content and scripting skills. Armed with a Bachelor’s Degree in Graphic Design and a Master’s in Typography and Type Design from California State University, David’s journey from freelance lettering artist to font Specialist and then the FontSaga’s inception reflects his commitment to typography excellence.
In the context of font reviews, David specializes in creative typography for logo design and lettering. He aims to provide a diverse range of content and resources to cater to a broad audience. His passion for typography shines through in every aspect of FontSaga, inspiring creativity and fostering a deeper appreciation for the art of lettering and calligraphy.